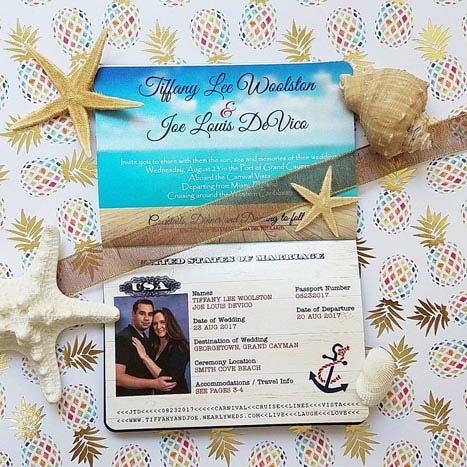
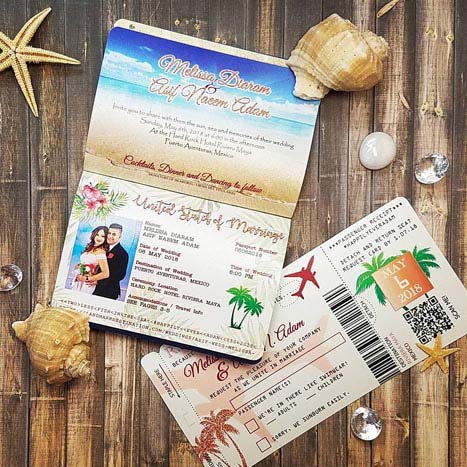
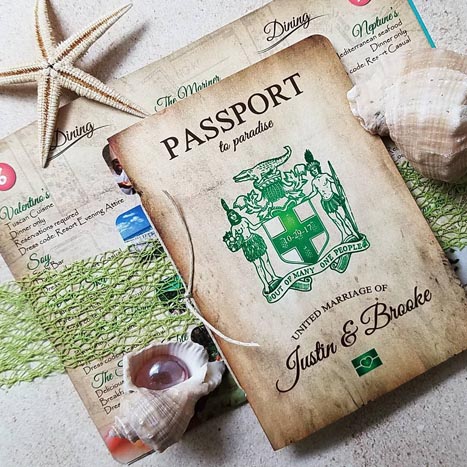
How To DIY
Create Your Own Passport Invitations!
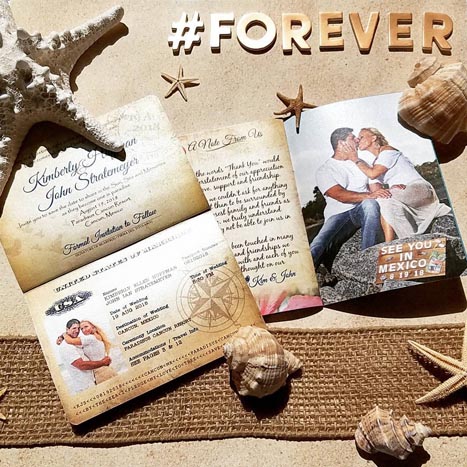
This blog was originally written in Oct 2011 and was a featured article on WeddingBee.com in spring 2012. The following information is merely a reference to the cost structure and the printing & assembly process Dave and I encountered during the creation of our passport wedding invitations and RSVP boarding passes. This information can assist you in your own DIY adventure but is not an accurate representation of the pricing or printing process of our current operation. Please see our Price Calculator for all price-related questions!
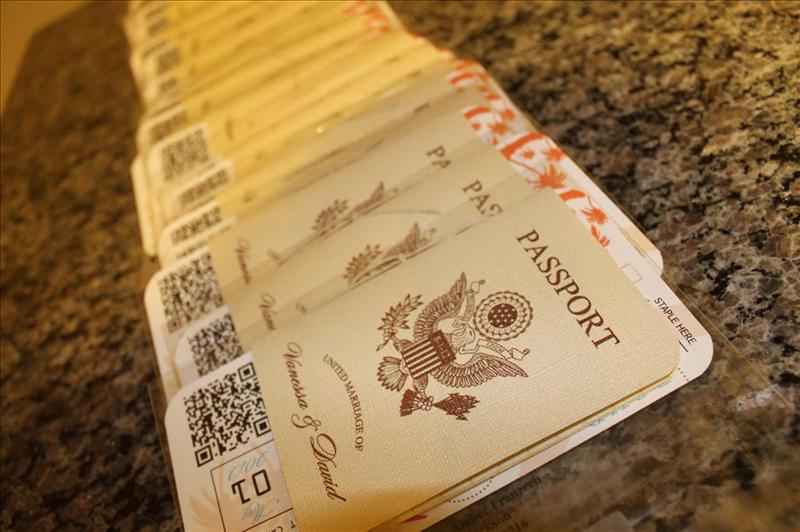
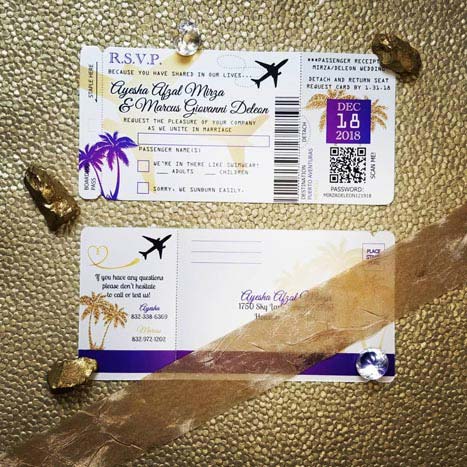
Below we have listed everything you need to make your very own professional-looking passport wedding invitations and RSVP boarding passes. The pictures and receipts listed were from our very first invitations, the ones we created for our own destination wedding, that we began in the fall of 2011. Our templates have undergone multiple revisions and enhancements since then, and offer much more detail than our original design. We’ve also changed some of the materials and procedures that we use. These improvements come from making hundreds of thousands of passport invitations, and we owe many thanks to the weddingbee community and “our brides” that helped support us and offer tons of new and great suggestions. We thank all of you creative DIY’ers out there, we love you! ♡
Design Concept
There are a few basic things to address before you decide to run to the scrap-booking store in excitement!
1. Not all paper is printer-friendly. Yeah, you know that gorgeous linen cardstock you just found from the scrap-book store with that deep woven-fabric texture? Good luck printing on it! If you’re planning on using a laser or inkjet printer, steer clear of the really exotic paper. You’ll save yourself time, money and the added stress. If you are wanting a textured paper, the paper suggestions we have listed in the Supplies section have been tested and will work on all ‘digital’ printers.
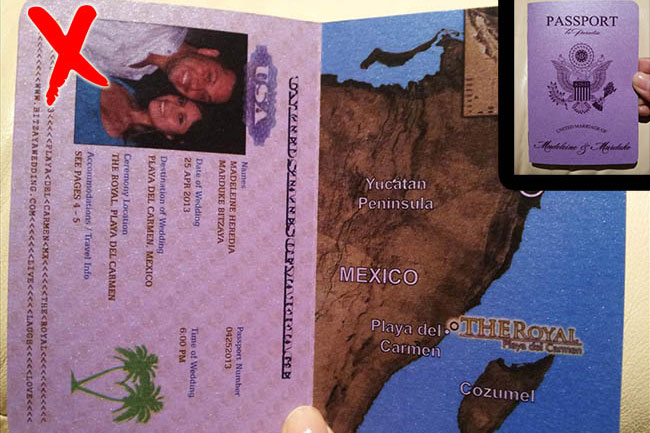
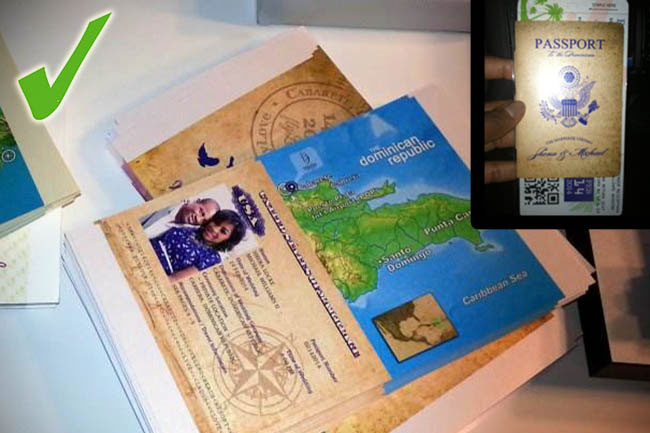
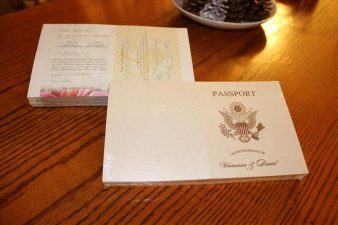
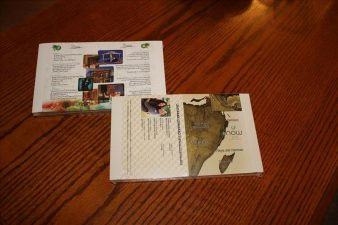
2. Printers cannot print white!* (DUH!) This one may seem obvious, but it’s important to understand that if you decide to use purple-colored paper, yep you guessed it, everything in your photo that should appear white (teeth, eyes, outfit, etc.) will appear purple!!! In fact, all your colors (except black and very dark colors) will have a purplish hue to them! Keep this in mind when selecting paper! It’s much better to select a neutral/light color paper and plan to print purple ON it, than using a paper that distorts ALL colors to purple! In the examples above, the photo on the left depicts using a white cardstock, and the “antique paper look” was simply printed on the outside and inside pages. This allows for all the colors to print accurately, as opposed to using actual antique-colored paper. If you’re dying to use a particular colored paper you found, we suggest using it to showcase your invite presentation; brochure-folders for your invites and custom envelopes are perfect for this!
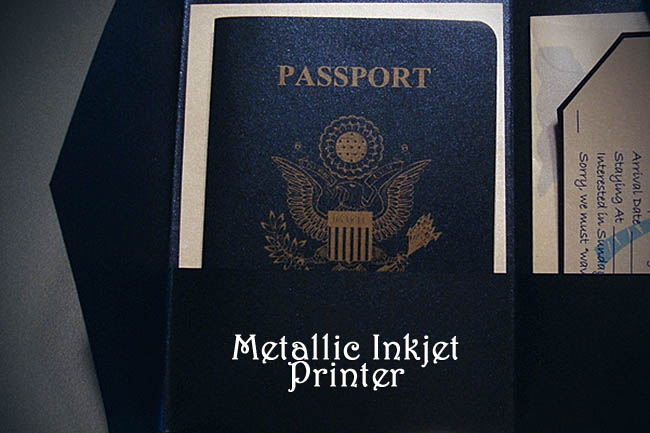
*Special inkjet printers are available at some specialty print shops. These printers contain an additional “silver” and/or “white” ink cartridge that can be mixed with the standard Cyan, Magenta, Yellow, and Black cartridges to allow for solid printing on any color paper! Although it is possible to achieve a “metallic look” with these inks, they do not match the brightness of a true “foil” impression. The advantage the metallic inkjet printers have on foil printers, however, is that virtually any color can be made, as foil printers are limited to a very basic list of colors. Both Metallic ink-jet and foil printers are very expensive and thus, may be out of your budget.
12 Page + Cover Outline
Inside Front Cover (Passport Photo Page)
- Page 1: Formal Invitation
- Page 2: Resort Info
- Page 3: Accommodations
- Page 4: Travel Info
- Page 5: Itinerary
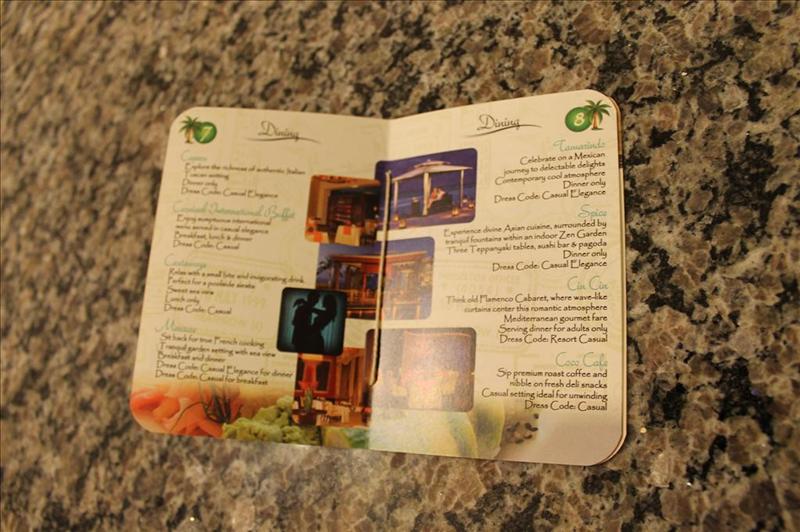
- Page 6: Dining
- Page 7: Dining
- Page 8: Resort Activities
- Page 9: Golf/Spa or Activities continued…
- Page 10: Local Attractions
- Page 11: Trip Tips
- Page 12: Contact Info
Outside Back Cover
The resort we chose for our destination wedding was the Now Jade Riviera Cancun. When we first looked at their website we were so amazed, we knew we wanted to provide our guests with all the pictures and information about the resort and local activities in the invite itself. You may have already discovered that it takes some convincing to get everyone on-board with the idea of spending a ton of money on your wedding and calling it their vacation! Our thought was simple; the more impressive the invite, the more excited our guests will be about coming!
Supplies and Materials
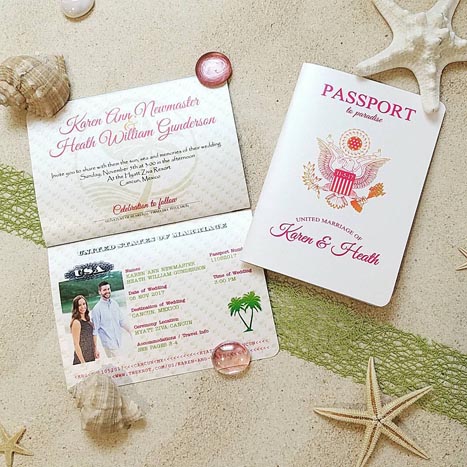
The finished invite makes a 3.5” x 5” passport, 12 inside pages plus the cover (inside and out). The total cost came to $4.30 per passport invite and RSVP boarding pass. This price includes all supplies and tools, printing, cutting, the cost of the envelopes and address labels, but does not include the cost of postage. Here are the supplies we used to make 60 invites:
*NOTE* If you are having your invites professionally printed, we highly recommend going to your local print shop to look at their paper options. This will ensure compatibility with their printers and will make the whole process much simpler. If they make a printing mistake, they can simply restock themselves instead of you having to order more or run back and forth between the store and the print shop. It will likely save you money and certainly time, by not having to order more than you need or having to order paper twice!
Our Paper Recommendations
Cover:
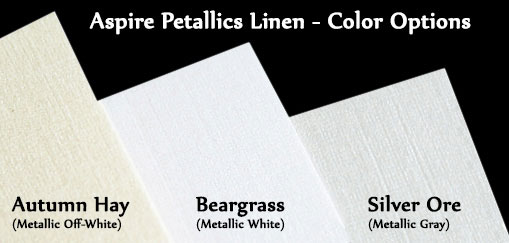
Aspire (Brand) Petallics (Line) Autumn Hay (Color) Linen (Texture) 98lb COVER Weight (Thickness)
Inside Text:
For plain text: Neenah (Brand) Natural (Color) 80lb TEXT Weight (Thickness)
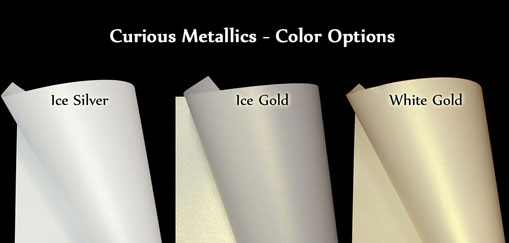
For metallic text: Curious (Brand) White Gold Metallic (Color) 80lb TEXT Weight(Thickness)
Cost Breakdown
8.5×11 Aspire Petallics Linen Autumn Hay – 30 @ $.37/sheet – $11.10 (Local paper store)
1/4″ Corner rounder from Michaels (for passport corners) – $6.42 (40% off coupon)
1/2″ Corner rounder from Michaels (for boarding pass corners – optional) – $6.42 (40% off coupon)
1/16” Hole punch from Michaels – $3.29 (40% off coupon)
(Optional) Martha Stewart Scoring Board – $11.99 (40% off coupon) You can pay the print shop to score the covers for you for only a few bucks.
Hemp Cord 10yds/Natural from JoAnns – 2 @ $1.29 each – $2.58 ***Wax cotton cord works better than hemp! It is braided and coated so it doesn’t fray as easily. See assembly pictures below.
Clear Plastic Envelopes A7 (5.25×7.25) *Found online only – Qty 75 – $8.25 (15 left-over) here’s a link to better envelopes on Etsy
Clear Address Labels (Avery Standard, 30 per sheet) from Office Max – 6 @ $.50 each – $3.00
8.5×11 80lb Text Weight “Natural White” paper (for inside content pages) – (INCLUDED IN PRINTING PRICE, SEE BELOW)
8.5×11 100lb Cover Weight White Cardstock (for RSVP Boarding Passes) – (INCLUDED IN PRINTING PRICE, SEE BELOW)
Total Spent on Supplies – $53.05
This is the Wax Cotton Cord (also sold at Michael’s) that we recommend using instead of hemp, as it does not fray as easily (and looks nicer too!)
Printing
Printing was definitely an issue for our original invites. The paper that we choose for our cover was from a scrap book store, and was too textured on one the outside. We went to FedEx Office and OfficeMax but their printers were just not able to handle that paper, and the test prints would leave “pockets” of toner that would not transfer to the paper. After a few wasted sheets of paper and a couple trips to the “copy shops”, we decided to explore our other options. A simple google search for local print shops in the area and we were headed (just down the road) to InstyPrints – a professional print and graphics shop. Check your local listings- you’ll be surprised at how many are in your area!
The project is divided into three separate print files; one for the cover page (inside and outside), the second for the inside “text pages”, and a third for the RSVP boarding passes. The following is a semi-confusing price breakdown of the three print jobs. We also highly recommend having a professional make the cuts for the passport pages. Our print shop had a hydraulic press that held multiple sheets together and cut the pages to perfection. Of course, you pay for it, but it saved us time and stress over cutting them ourselves with a cheap straight-line. Also consider the loss of materials if you screw a few up, you may end up having to print more, costing you the extra $$$ anyway!
Cost Breakdown
Cover-Digital Color-Front & Back-30 sheets (2-up per sheet) – $55
Inside Pages-Digital Color-Front & Back-90 Sheets (2-up per sheet) – $103* *Includes the price of the 90 sheets of 70lb Text Weight “Natural White” paper.
Bleed Cuts-Heavy-Cover-4 cuts – $10
Bleed Cuts-Heavy-Inside Pages-4 cuts – $10
Bleed Cut-Heavy-60 folded passports – $10 (Completed only after the passports were assembled and brought back for this final “booklet cut”.
The cost for the RSVP boarding passes was not done at this print shop, as this was a much simpler project than the passports. (single-sided*, color, 20 pages plain white 100lb cardstock*, perforated, self-cut). Head over to FedEx Office/OfficeMax for this print job! – $17
*We now print the boarding passes on both sides! That way your mailing address is already on the back! No need to print another label! Also, we now suggest using white-gold metallic cardstock for your boarding passes. It definitely adds a nice touch. Check out your print shop for options they carry!
Total cost of all printing and cutting services – $205
Cutting
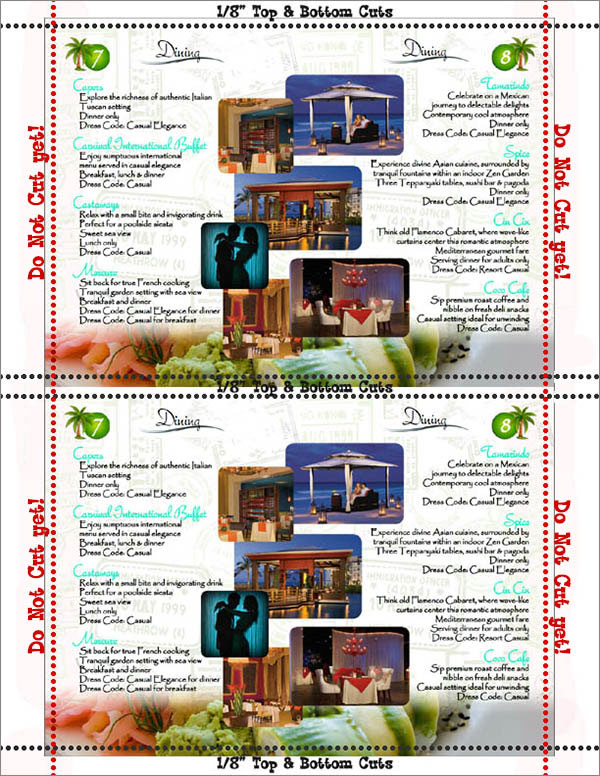
Helpful Tip: If you’re planning on having background images or other graphics that span out to the edges of the pages, it’s important to understand the concept of creating an image bleed. Basically, you need to design your pages to have a little bit of “run-off” on all the outer edges, that will be cut off after print. Take any magazine for instance~ do you think the ads and layout of each page were created to be the exact dimensions of the magazine? No! They design everything to be slightly wider dimensions and then slice off the edges to make sure the finished edge of the magazine does not show any empty borders.
So if your finished project is to be 5” x 7” (5” x 3.5” when folded), the dimensions of your passport file should be greater than that. It is recommended to allow for at least 1/8” “run-off” on each edge. This is called setting an IMAGE BLEED and is designed to compensate for printing and cutting errors. So basically, create a document that is 5 1/4” x 7 1/4” and once printed, cut 1/8” off each edge and you’ll have a professional-looking document with images that run all the way to the edge with no white borders.
Also, to save on costs, stack two or more images on the same sheet, center them on the page, and of course, print on both sides. Centering the images allows for front-back printing to line up perfectly, and also has the added benefit of keeping your image away from the edges- inside the printer’s safe printing margins.
Example of a single 8.5″ x 11″ sheet of paper used, image placed “2-up” (Notice the horizontal [black] cut lines trim off the top and bottom images slightly. This is called trimming the bleed.):
You will also notice that the vertical (red) cut lines are not to be cut yet. This is because as you assemble the pages into your passport, each sheet of paper will begin to stick out more from the binding than the previous sheet. There is no need to cut the vertical trim marks off until the pages are assembled and folded together, and then making one final “booklet” cut on each passport 3.5″ from the binding. This gives a perfect edge when folded.
Scoring (creasing)
Do not overlook this simple step! Scoring (creasing) is essential to produce a perfect folded-crease on your passport. The thicker the paper, the more likely you’ll see splitting and cracking along the seam when folded without a proper creasing technique! An added benefit to doing this is that it will also help with finding the exact center of the page during assembly. Plan to have your print shop do this step for you, or you can do it yourself easily with a scoring board/bone folder. We originally had the print shop do this step for us. It cost us about $6 for all 60 covers to be scored. But with a 40% off coupon you can get your own board and folder for less than $12, and then you can feel cool that you did it yourself! More importantly, you can be sure they are scored PERFECTLY down the middle, which is incredibly important if you want your passports to look good once assembled. The print shop has machines that score very quickly, and will likely be less accurate than you doing it by hand. Here is an example of the scoring board we use. Since the sheet of paper is 8.5″ wide, and the image is printed in the center of the page, your score line should be made right at 4.25″.
Assembly
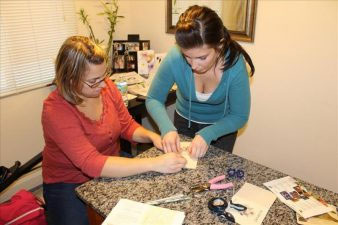
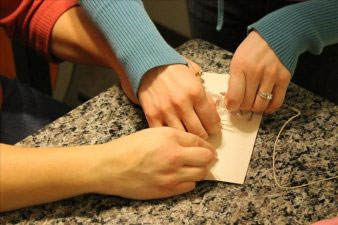
We did not use any glue. Everything was secured with waxed cotton cord (easier to use than hemp) through two holes punched with the 1/16″ hole puncher. It worked out well and held the pages secure and was certainly quicker than having to sew and glue (like a real passport), but definitely took some practice to get consistent hole placement. Another popular option is to staple the binding. This is also known as “saddle-stitching” at most print shops. This gives a very “clean” look, and secures the pages very well. But we ultimately decided the threaded-look was more elegant and unique.
Watch
Our Process
The entire process from start to finish can be seen in the video here.
Skip ahead to 4:24 if you wish to see only the assembly instructions
About Our Templates
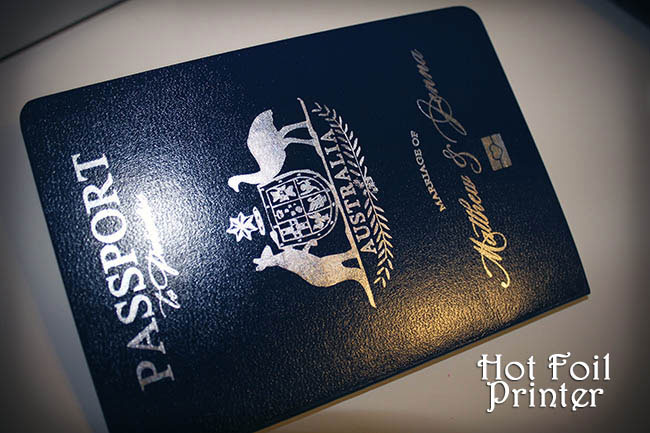
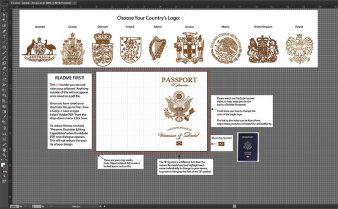
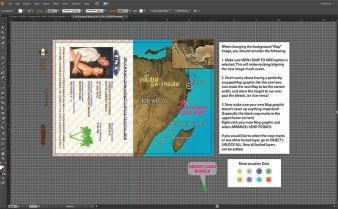
Our 12-page Generic Template is full of graphics just like all the examples here. The cover page also includes passport logos for the following countries; USA, Canada, United Kingdom, Australia, Ireland, Dominican Republic, Honduras, Jamaica, Mexico, Denmark, Finland, Poland and Nigeria. New logos will be made free at your request! We also have location-specific templates for Cancun, Playa del Carmen, Cabo, Puerto Vallarta, Punta Cana, Ocho Rios, Montego Bay, and Negril. The templates feature a beautiful map where you can easily add your resort’s location and logo, and also includes a page full of beautiful photos of the most popular local attractions in the area!
